OKX – API Import Guide
This guide explains how to create and bind an OKX API Key to your trading platform.
By connecting your OKX account via API, you can enable automated trading, AI Trading strategies, and real-time account synchronization securely.
⚠️ Important Notes Before You Start
Please read carefully before creating an API key:
- ✅ API access does NOT allow withdrawals (if configured correctly)
- ❌ Never share your API Key, Secret Key, or Passphrase
- 🔐 Always restrict permissions and IP addresses if possible
- 🧠 Recommended: create a dedicated sub-account for API trading
Step 1: Log in to OKX
- Visit the official OKX website
👉 https://www.okx.com - Log in to your account
- Make sure 2FA is enabled
📸 Screenshot Example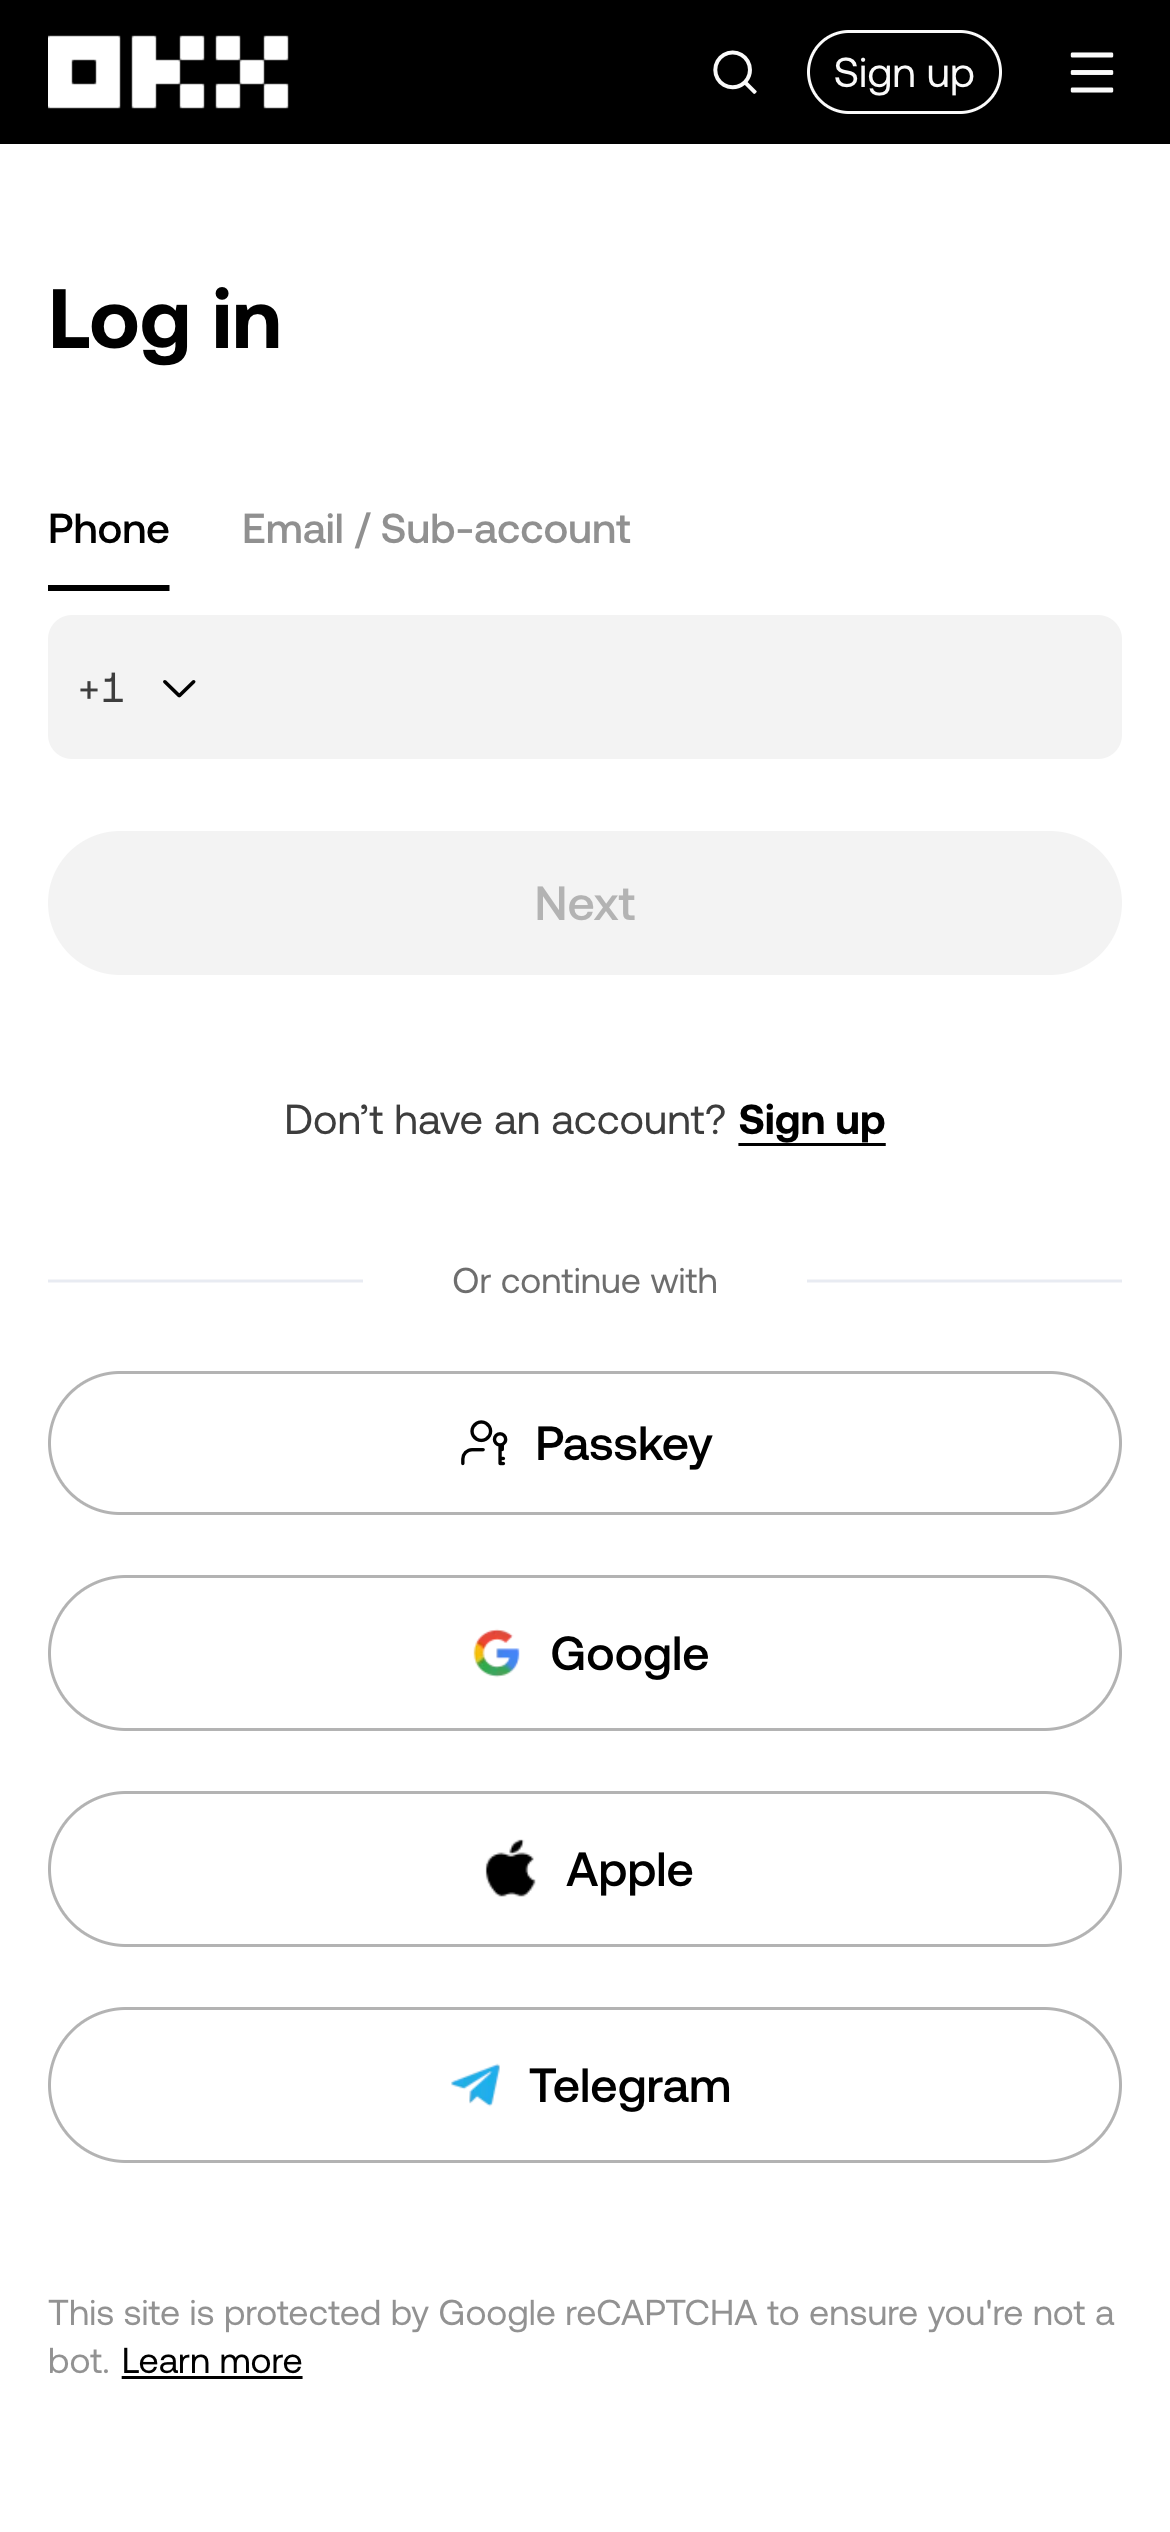
Step 2: Navigate to API Management
- Click your profile avatar (top-right corner)
- Select API
- Enter the API Management page
📸 Screenshot Example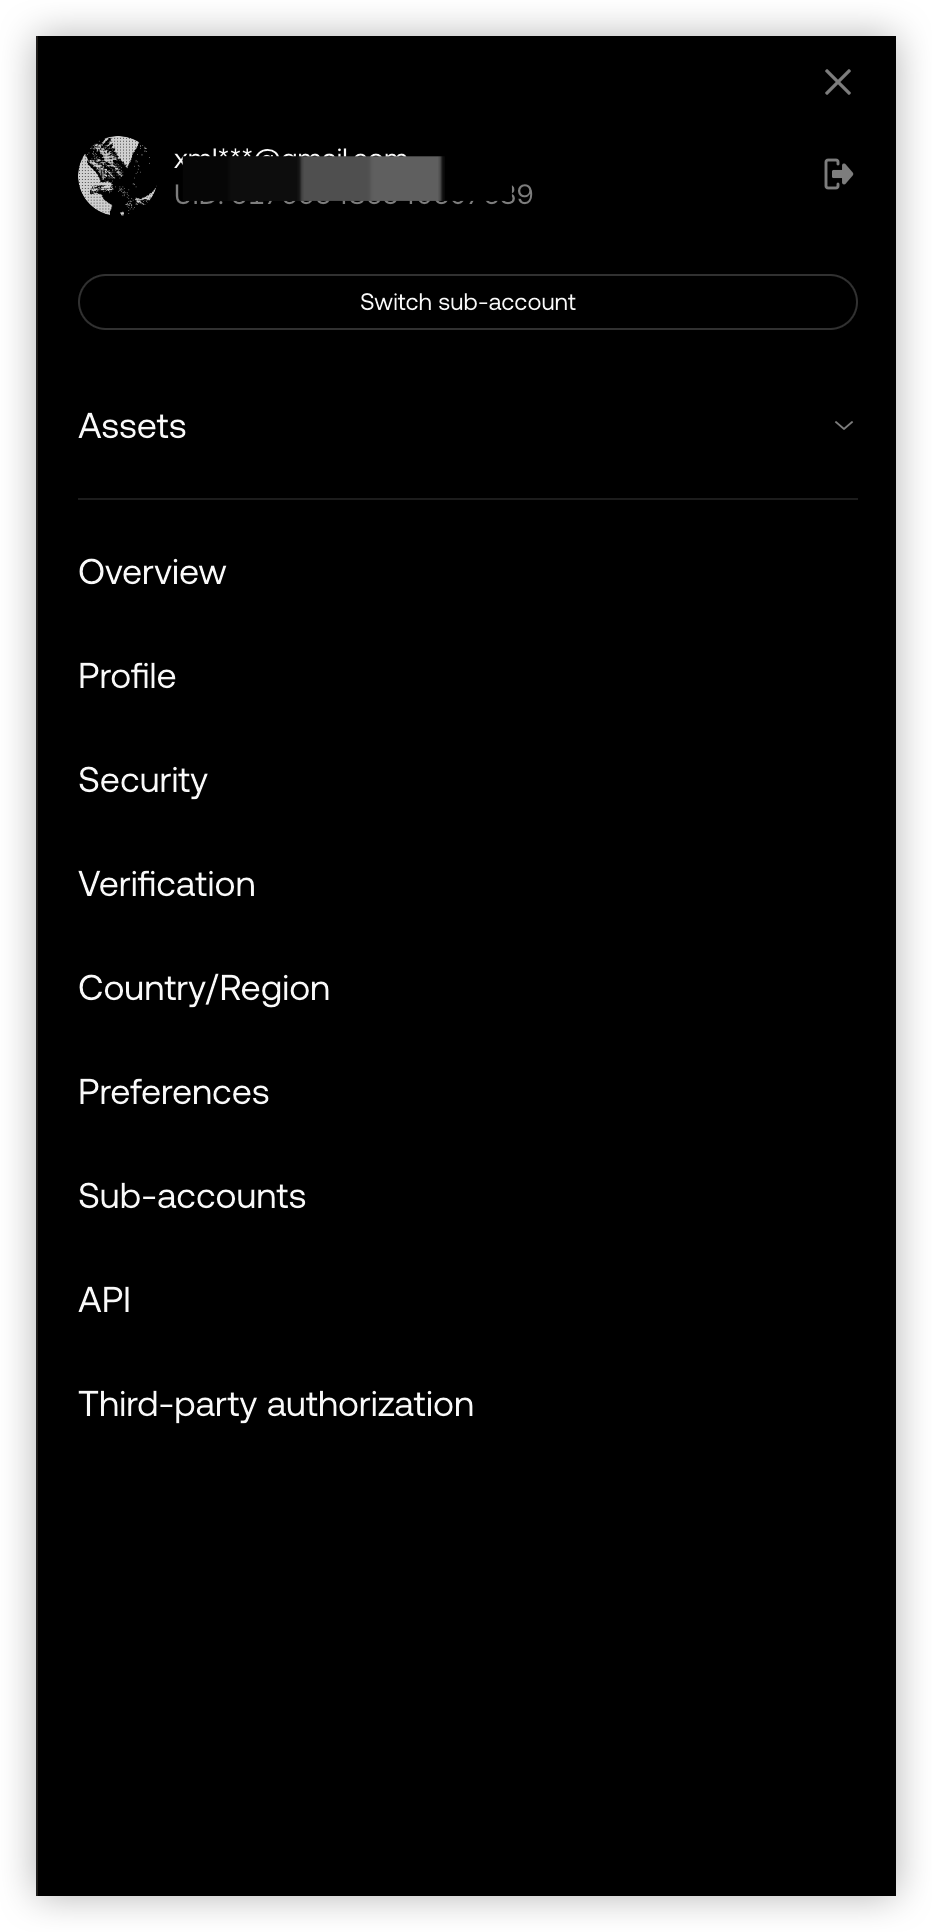
Step 3: Create a New API Key
- Click Create API Key
- Enter an API Name, for example:
- Select API usage purpose (e.g. Trading)
- Set a Passphrase
⚠️ This passphrase is required when binding the API
- Complete security verification
OKX will generate:
- API Key
- Secret Key
- Passphrase
📸 Screenshot Example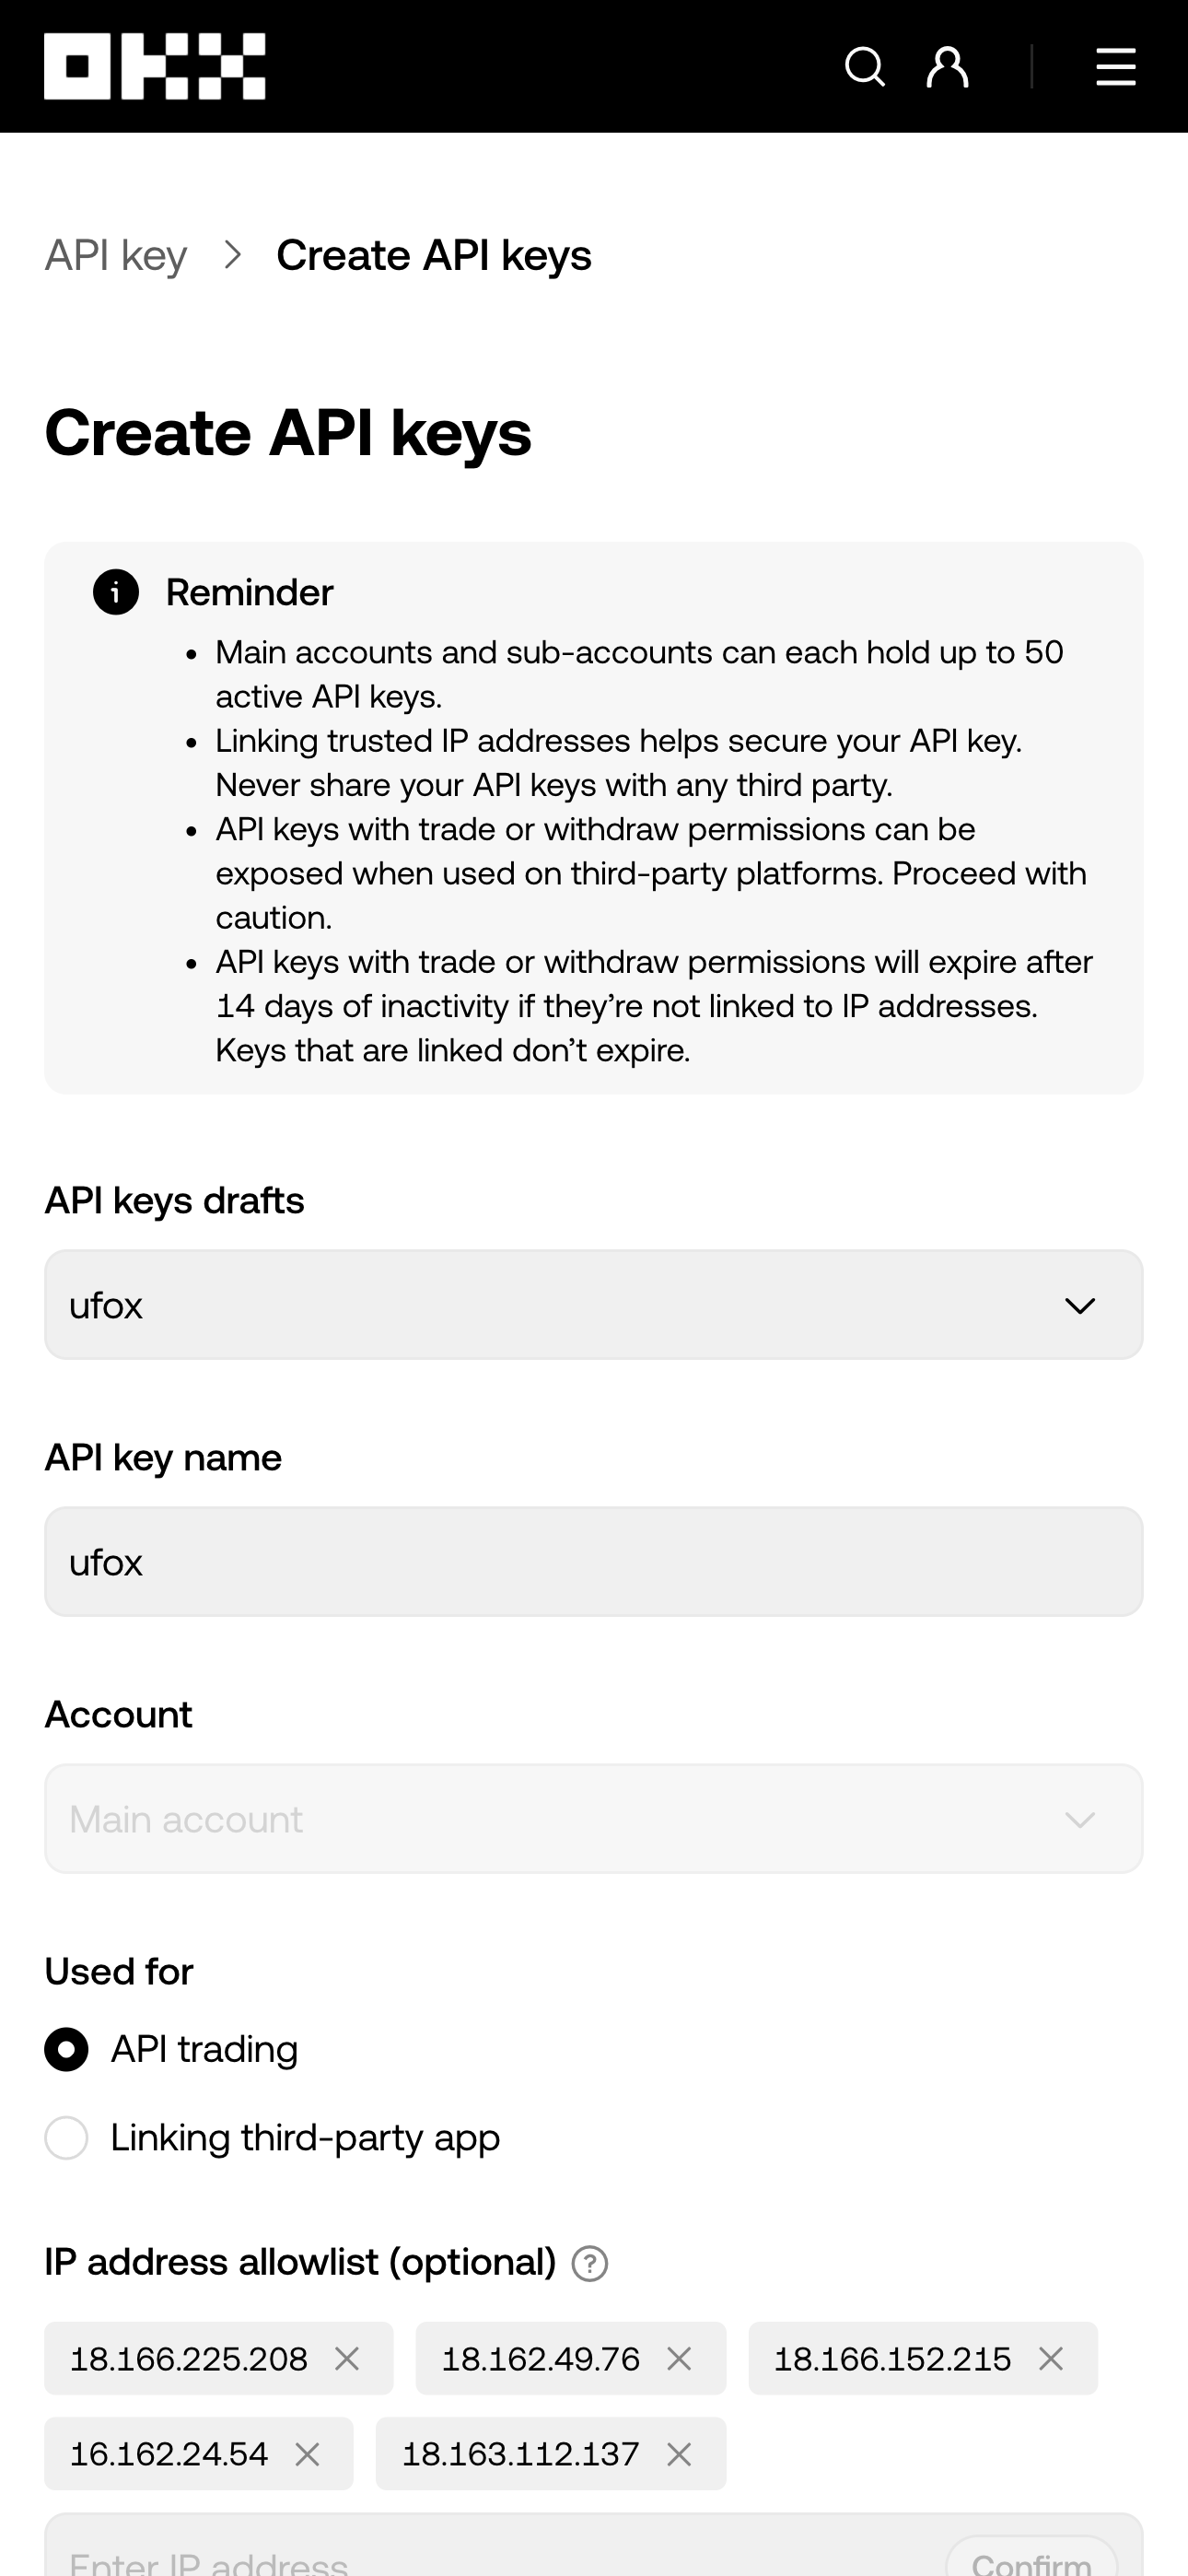
⚠️ Save the Secret Key & Passphrase securely.
They will not be shown again.
Step 4: Configure API Permissions (Very Important)
Set permissions carefully to ensure both functionality and security.
✅ Required Permissions
- ☑️ Read
- ☑️ Trade
- ☑️ Futures / Swap (if using derivatives strategies)
❌ Must Be Disabled
- ⛔ Withdraw
- ⛔ Transfer (recommended OFF)
Step 5: Set IP Access Restrictions (Recommended)
- Enable Bind IP address
- Add the platform’s official IP addresses
(provided by your trading platform)
📸 Screenshot Example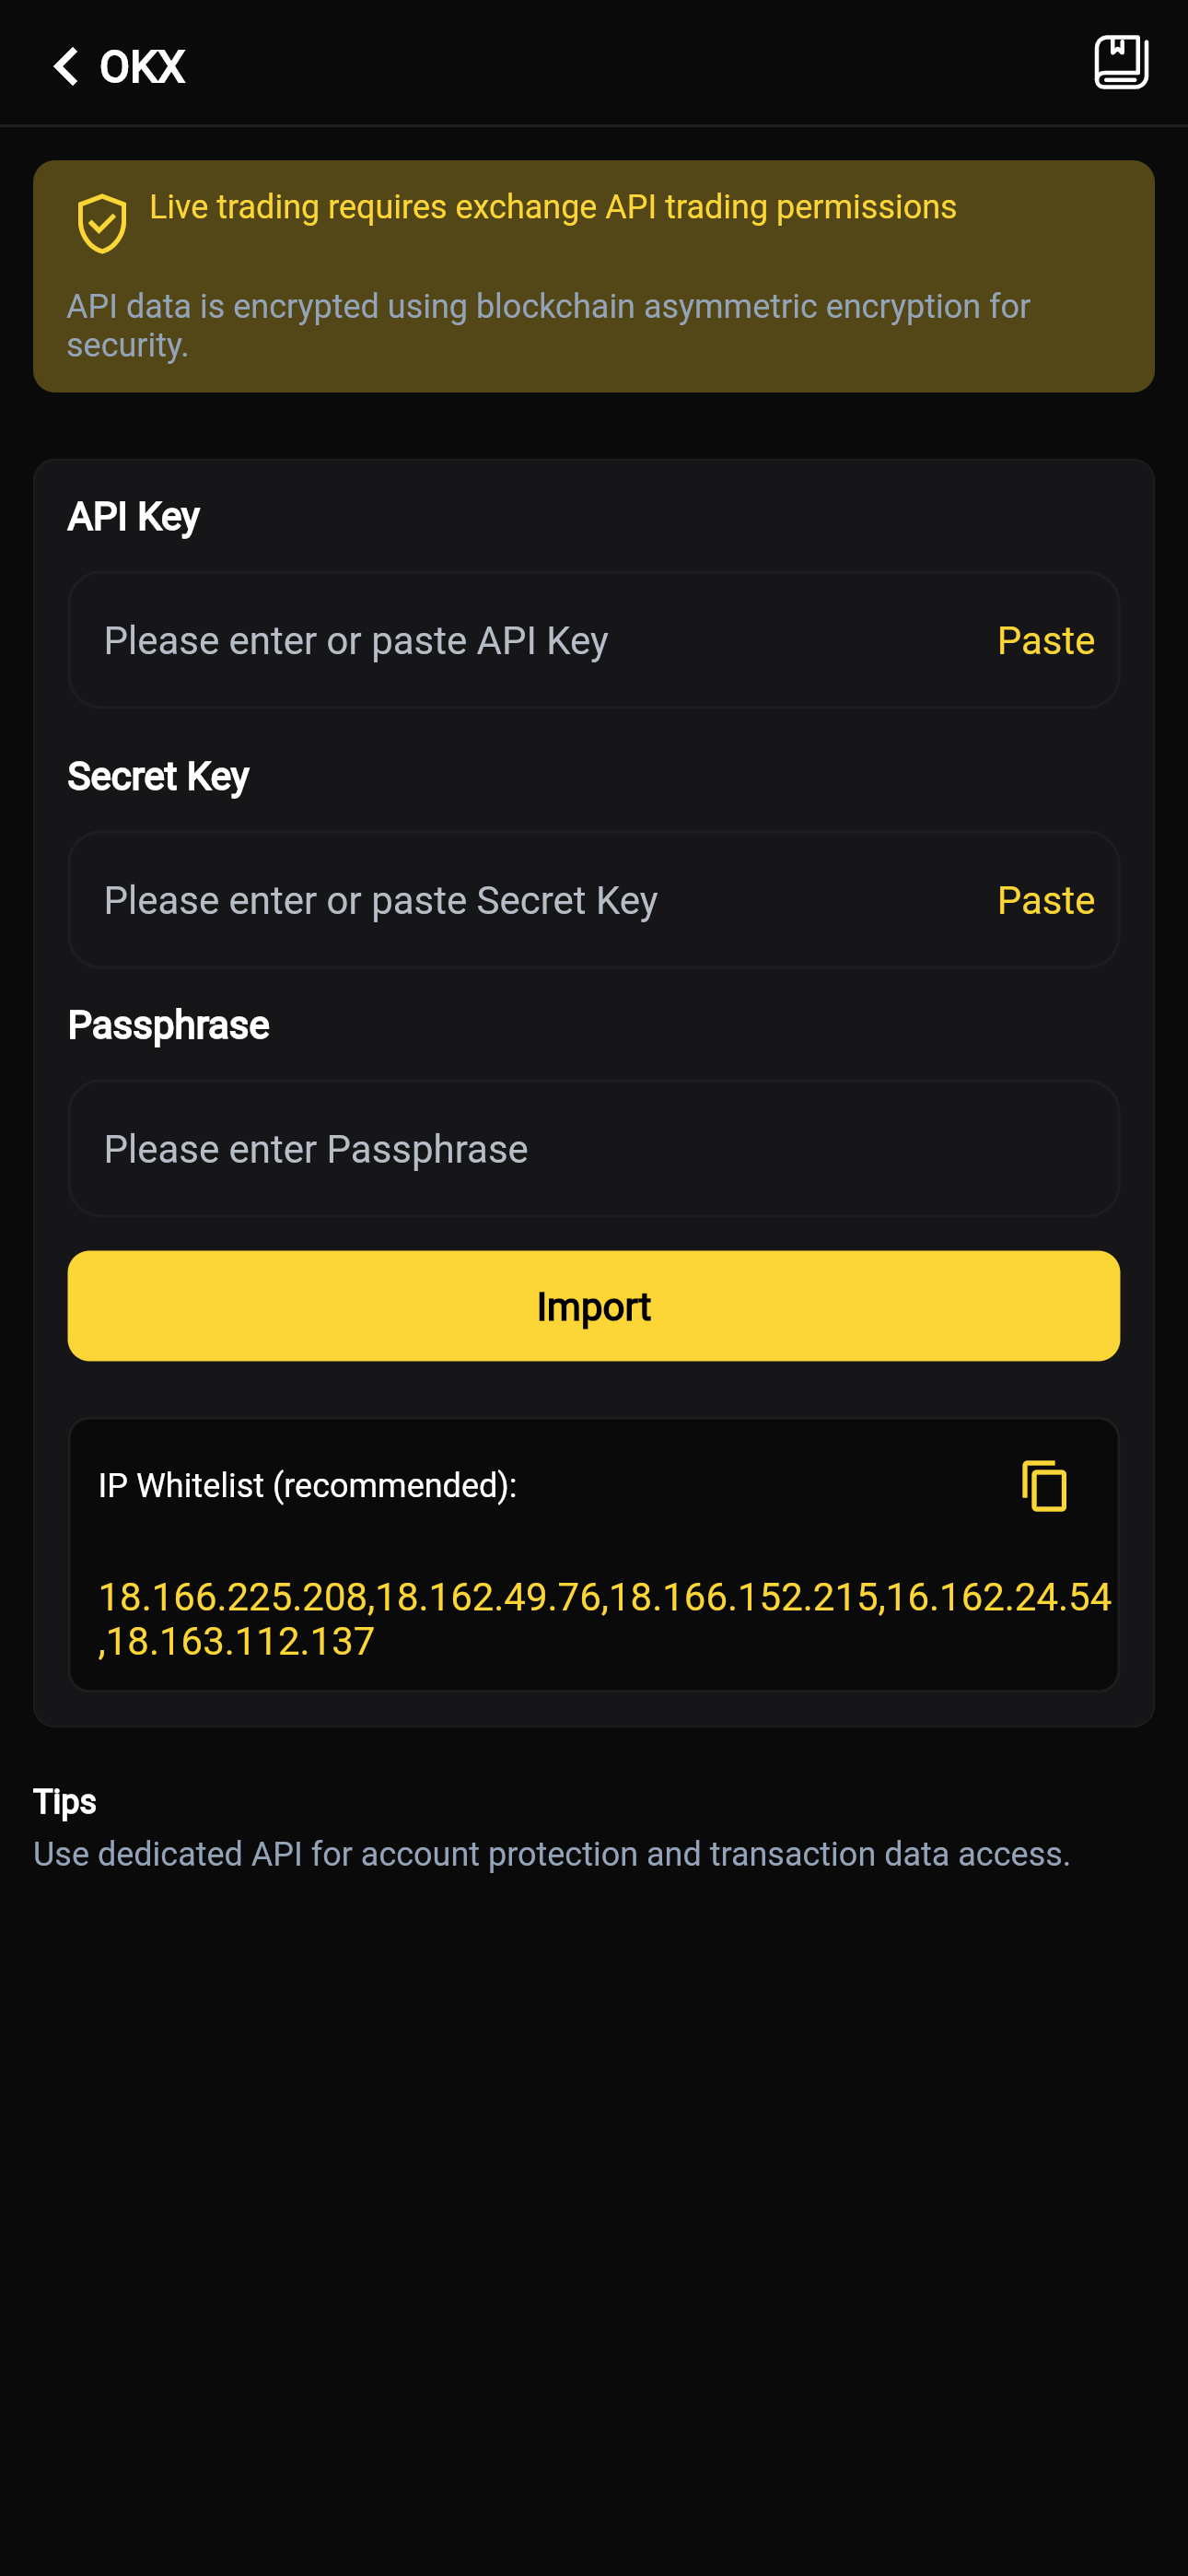
If IP addresses are not available yet,
you may temporarily skip this step and update later.
Step 6: Bind API Key on the UFOX Trading Platform
- Go to UFOX Home Page → API on your platform
- Select OKX as the exchange
- Enter:
- API Key
- Secret Key
- Passphrase
- Select trading scope:
- Spot / Futures / Both
- Click Bind / Connect
📸 Screenshot Example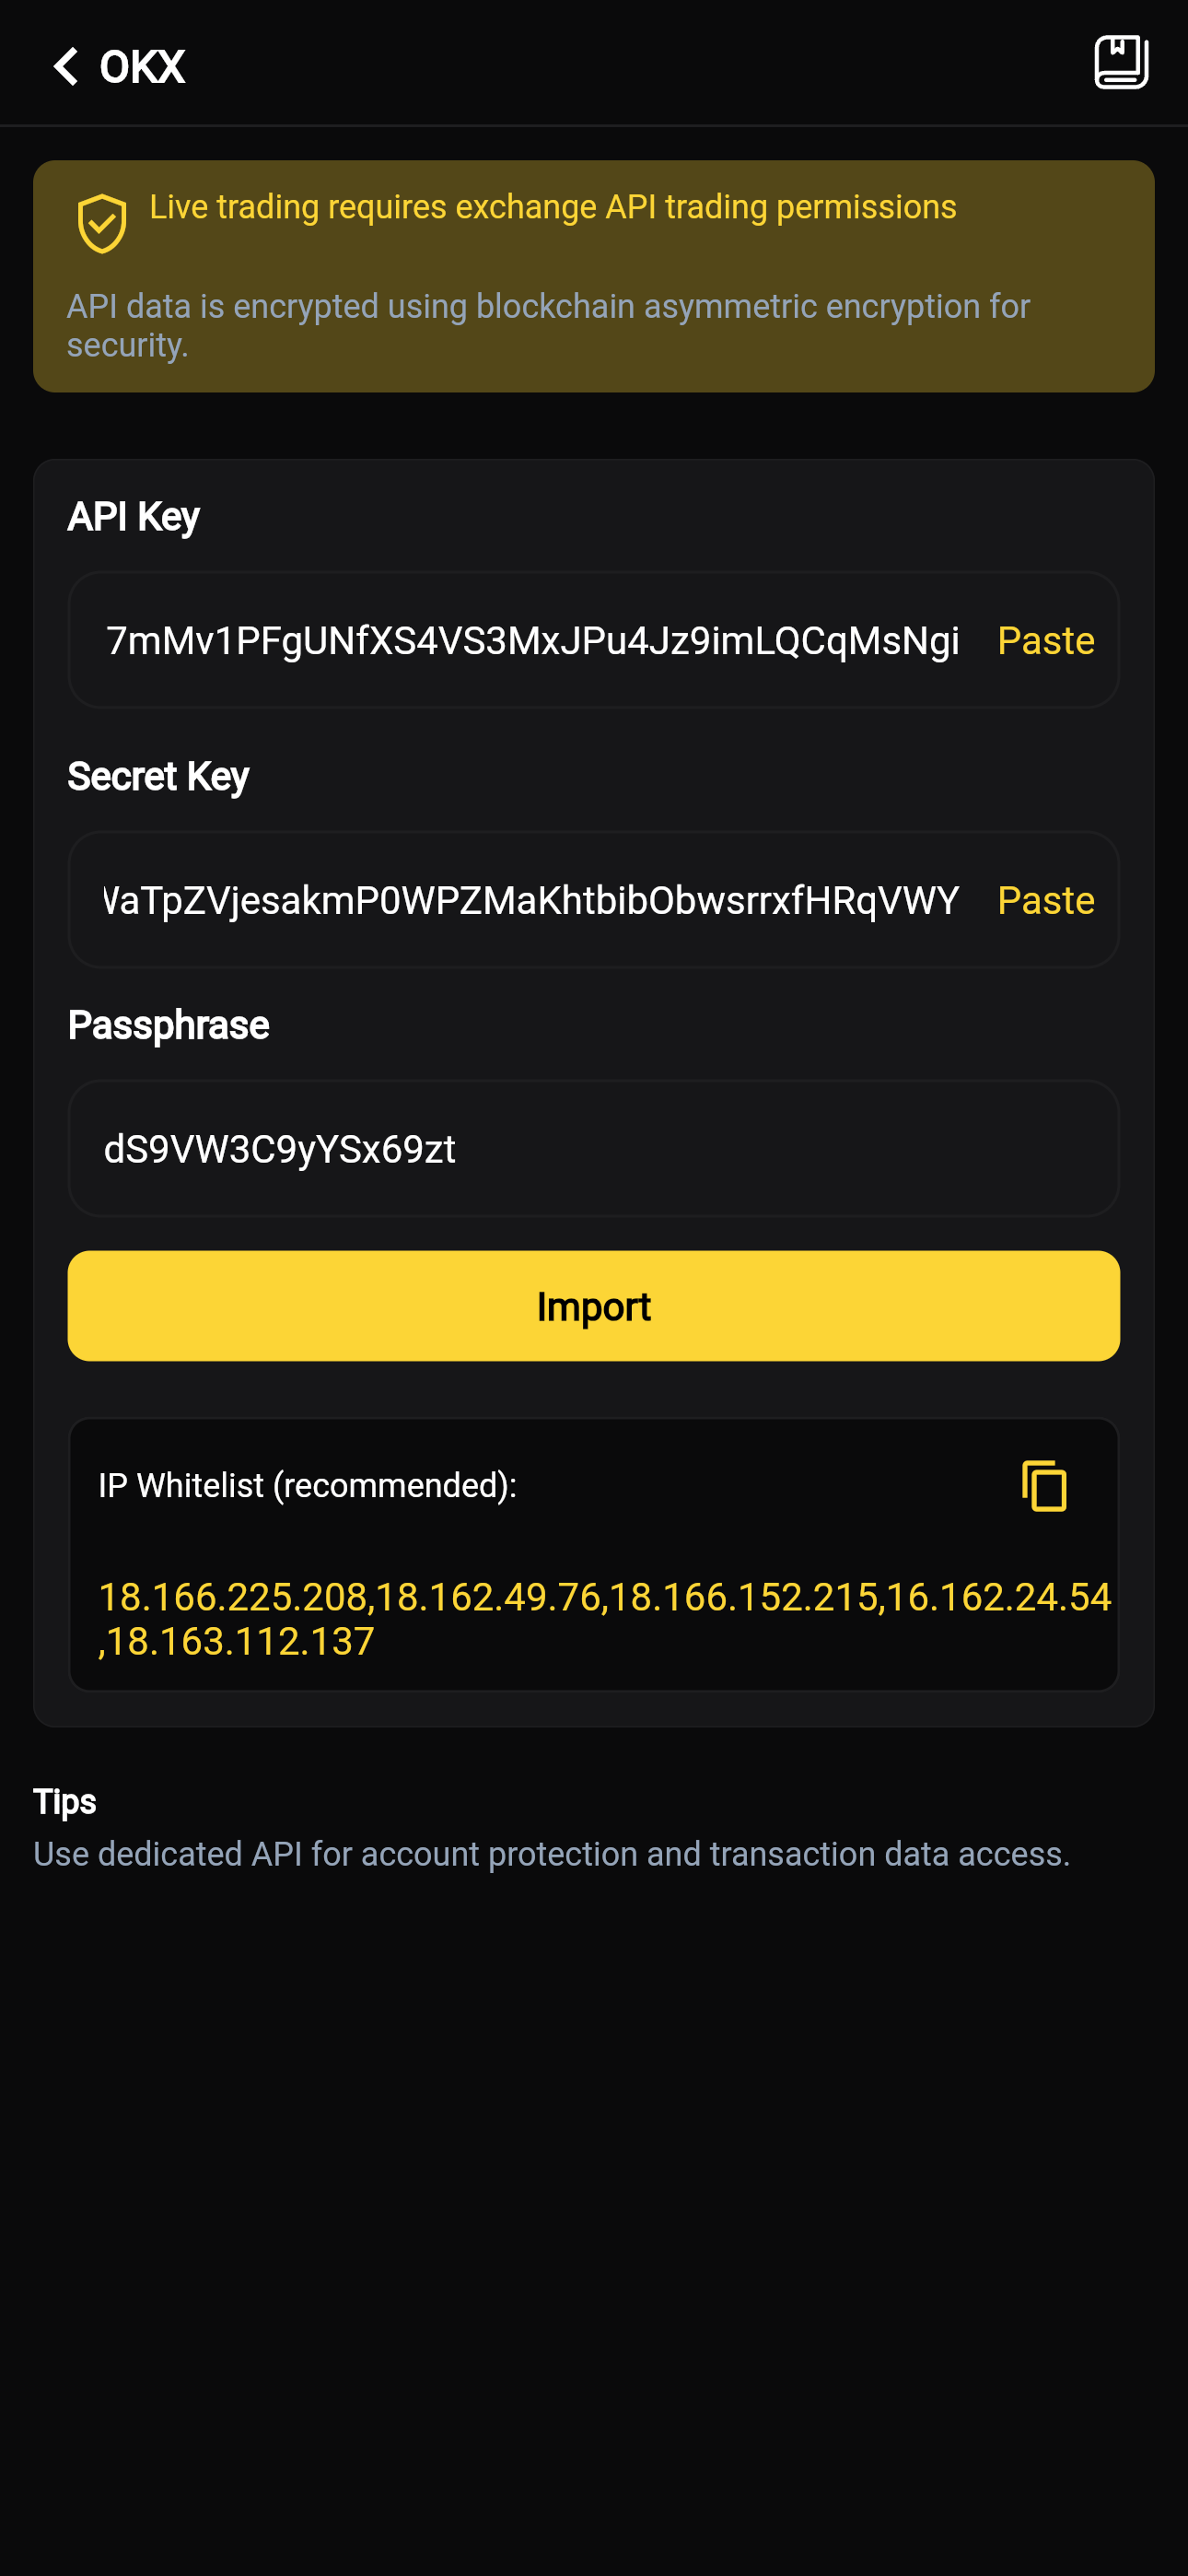
Step 7: Verify Connection Status
After successful binding, you should see:
- ✅ API Status: Connected
- 📊 Account balance synced
- 🤖 AI Trading strategies available
Common Errors & Solutions
❌ Invalid API Key / Secret / Passphrase
- Ensure all fields are entered correctly
- Check for extra spaces
- Recreate the API if information is lost
❌ Permission Denied
- Ensure Trade permission is enabled
- Futures bots require Swap / Futures permission
❌ IP Not in Whitelist
- Add platform IP to OKX whitelist
- Or disable IP restriction temporarily
Security Best Practices
- 🔐 Use a sub-account for API trading
- 🔄 Rotate API keys regularly
- 👀 Monitor API usage logs in OKX
- 🛑 Delete the API immediately if suspicious activity is detected
FAQ
Why does OKX require a Passphrase?
OKX adds an extra security layer.
The passphrase is mandatory when binding APIs.
Can the platform withdraw my funds?
No. Withdrawal permission must remain disabled.
Can I edit API permissions later?
Yes. Permissions can be modified anytime in OKX API Management.
🎯 Finished
Your OKX account is now successfully connected.
You can start automated and AI Trading securely.
For more exchange guides, please refer to other API import documentation.